
Frequently Asked Questions About European Window and Door Installation
When we work with builders and installers for the first time, we seem to get many of the same questions about how to install European windows and doors.
In this blog post, you’ll learn answers to the most frequently asked questions about installing European windows and doors in your next building project.
Here are the FAQs we will be answering in this post:
Are European windows and doors fully assembled before delivery?
What do I need to consider when fitting them into the opening?
How does the water-proofing and thermal proofing of European windows and doors actually work?
How much tape do I need for installing windows and doors?
Construction won’t be complete when the windows and doors are installed. How can I protect them during construction?
Let’s jump right in!
Are European windows and doors delivered fully assembled?
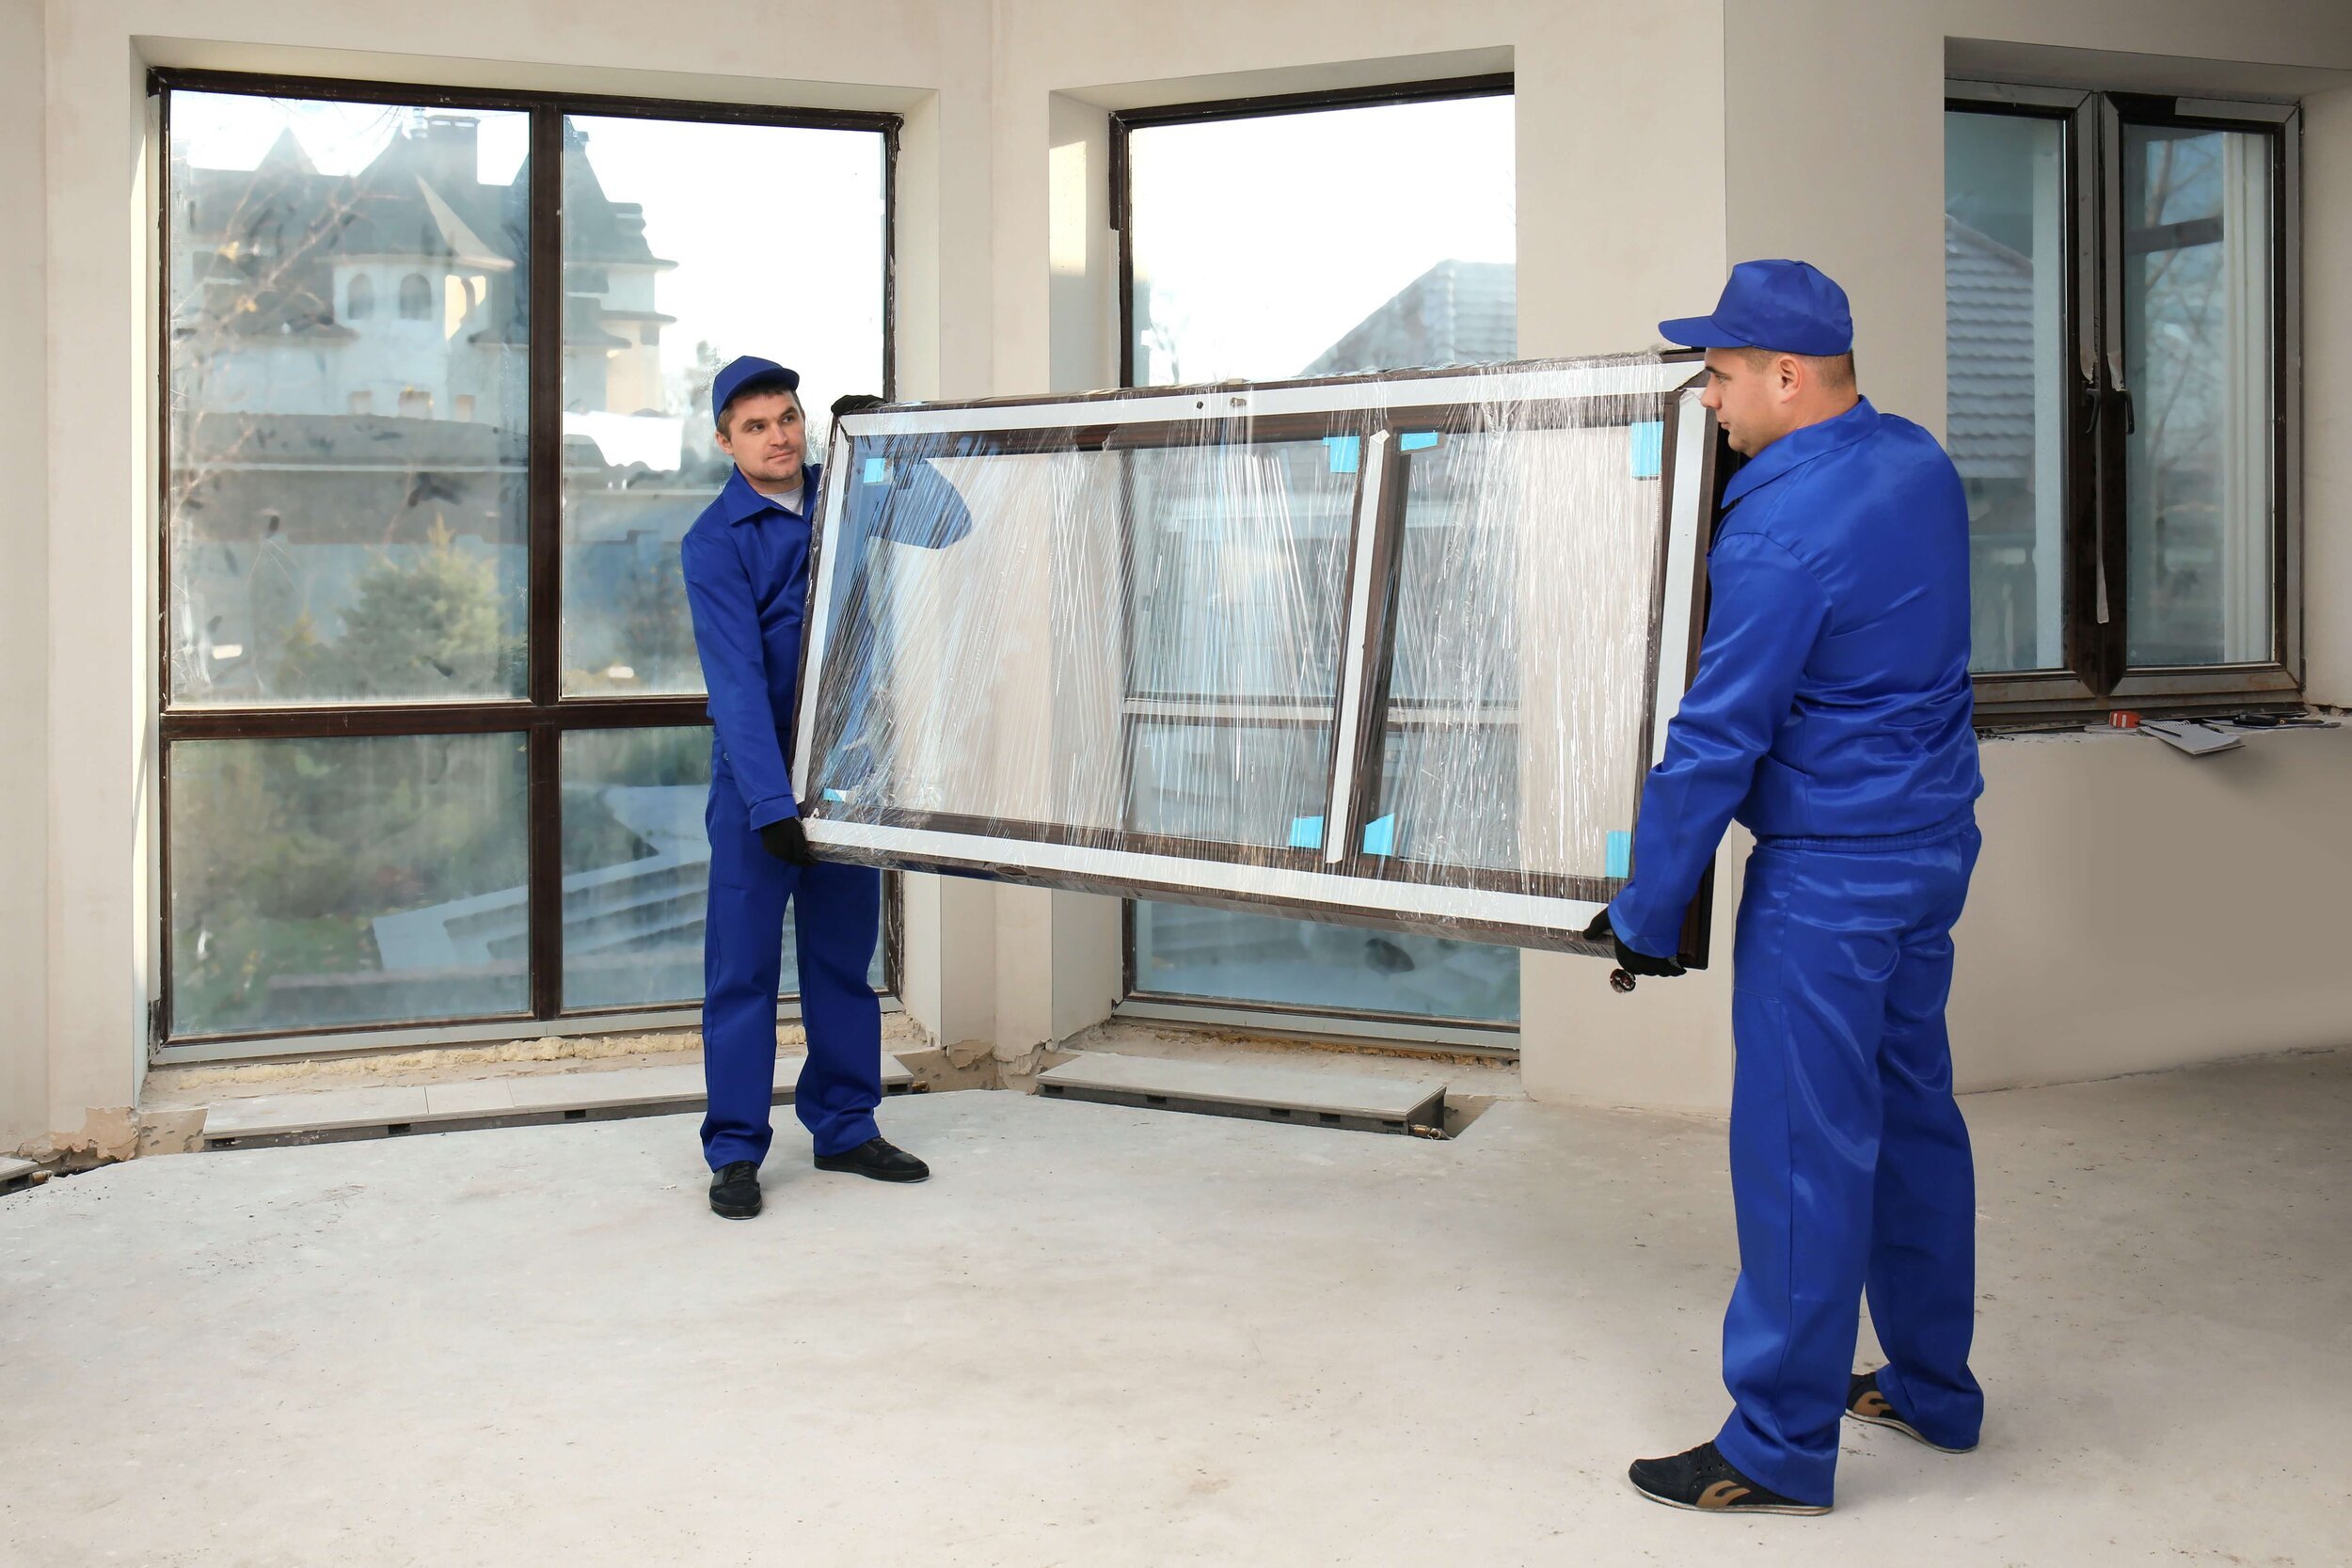
Install of fully assembled European window.
For the majority of our European window and door systems, we deliver fully-assembled units that are ready for installation into your home or building. There are a few exceptions:
Oversized Elements: We recommend delivery of partially assembled windows and doors when the weight or dimensions of the fully assembled units exceed the capability/capacity of the onsite crew, available tooling, or otherwise makes installation more difficult.
In the case of large multi-element fixed units or large lift-and-slide doors made of vinyl, aluminum, or steel, we can deliver frames and glazing separately. This allows the easy installation, positioning, and fixing of the frame in the opening before the heavy glazing is installed.Note: Fixed windows and doors made from wood cannot be delivered unglazed, due to differences in material properties and construction methods.
For large and heavy elements with tilt and turn vents, the vents themselves can be removed easily and reinstalled after positioning and securing the frame in the opening.
If you’re working with elements that are too large to fit in a shipping container, we will deliver the unit partially assembled. In this case, final assembly happens on site.
Folding Doors, Storefront and Curtain Wall Systems: Our folding door systems are pre-assembled at the fabricator, and then are partially disassembled for shipment. On-site assembly of these systems is quick and easy, and a manual is provided.
Similarly, the profiles for our pre-fabricated storefront and curtain wall systems are packaged in individually labeled boxes for quick assembly on site. The glazing elements for these systems are packaged separately with protective profiles secured around the entire perimeter of the glass.
Mounting Hardware and Handles: As discussed later, the twist-in brackets used for fixing the element into the opening are installed on site just before placement into the opening. This small detail makes shipping much easier and safer. In addition, the handles are designed to be installed after construction is complete, to ensure that they stay protected during construction.
What do I need to consider when fixing the windows or doors in the opening?

Leveled and squared window elements with integrated patio door.
As with any window, European windows and doors should be level, plumb, and square before being secured in the opening. As customers tend to open tilt and turn windows and lift and slide doors more regularly than other products due to their ease of operation, it’s even more important for European windows and doors to be fully aligned in the opening.
Once the window is positioned and shimmed correctly, metal brackets are used to secure it in the opening from the inside. Here’s the step-by-step process for a tilt and turn window:
Remove the vent with the provided tools (recommended for easier alignment of frame in opening).
Slide the provided metal installation brackets into the respective channel on the frame, putting one about 5 inches from each corner on each side of the windows. Add additional brackets approximately every 20 inches between the corner brackets.
Put the window into the prepared opening and level and square it using plastic shims. Make sure to start first on the bottom corner of the hinge side, and move next to the top corner, non-hinge side. This ensures the weight of the vent is properly supported on the hinge side when fully opened.Tip: Prior to placing the window in the opening, attach temporary blocking on or around the rough opening to stop the window at the proper depth in the wall.
Once the window is shimmed level, plumb, and square, bend the metal brackets against the studs or rough opening, and fix them with screws. Be sure not to move the window in the process.
Reinstall and close the vent and move on to waterproofing and insulating the gap between the window and the opening.
How does waterproofing and thermal insulation of European windows and doors work?
Waterproofing and thermal insulation procedures might vary depending on construction method and how a window or door is installed in the opening (flush with the outside wall, recessed in the opening, etc.).
However, the most common method on a new 2-by-4 or 2-by-6 wood frame building is installing the window flush with the external sheathing, using tape to cover the gap between the window frame and sheathing.
The siding is later extended over the window frame to cover the tape. Nailing flanges don’t match the excellent thermal efficiency and waterproofness of the actual window and are, therefore, usually not provided by European manufacturers.
Here are the steps:
Use water-tight, vapor-permeable window tape to cover the gap between window and framing. Make sure that the tape is wide enough to span the gap and cover at least 1/4 inch of the window frame AND 1 inch of sheathing.
Start taping vertically, then horizontally. When taping vertically, be sure to go at least 5 inches longer than the window frame on both sides. Extend the horizontal tape at least 5 inches past the vertical tape on top and bottom.
Once the tape is in place, use foam to fill the gap between the window frame and the rough opening from the inside. Be sure to use foam that stays elastic to ensure that the thermal barrier stays in place as the house settles over time. (Expanding insulation tape is an excellent way to insulate between the window and rough opening. Please contact Bauwerk to learn more about this method).
How much tape do I need for installing windows and doors?
For installing windows and doors, you need at least enough tape to cover the perimeter of each window and door, plus an extra 10% for extending the tape vertically beyond the frame and overlapping tape in the corners. <p>The perimeter is equivalent to the linear feet of all windows and doors and will be shown on most quotes. If you don’t have a quote yet or your quote isn’t showing it, it’s easy to determine. Just add up the width and length of all windows and doors and multiply the total by two. If your measurements are in inches, divide the result by 12 to get linear feet.
Construction won’t be completed when the windows get installed. Do I have to worry about the handles and window surfaces?
To protect the element and its handles during the construction phase, all windows and doors are delivered with protective tape and removed handles. Once construction is completed, the handles can be installed in less than a minute. Check out this video to see how it works:
After construction is complete, the protective tape can easily be removed from the surface of window and door elements. Make sure to remove the tape within 3 to 4 months at the latest to avoid glue residue and discoloration.
Still have questions? Post it in the comment section or email us, and we will add it to this post!
About Bauwerk Building Solutions
Bauwerk is a multinational business that connects US clients to an extensive network of European manufacturers of windows, doors, curtain wall systems, and more. We specialize in innovative and refined building products of the highest quality. Our offices are located in Charlotte, NC and Berlin, Germany.